SERVERware 4 Installation of Processing host
Installation wizard steps
Boot target machine from the USB installation media. The following welcome screen appears.

If the live system was able to pick up IP address from the DHCP server, it will show so on this screen. You can then access the system remotely via ssh on port 2020 with username 'root' and password 'bicomsystems' and continue the installation. There are several options offered on the welcome screen:
- Exit - Choose this option to exit the installation wizard. This option will open the live system command-line shell.
- Verify Media - This option will go through the installation media files, match them against previously stored checksum and check for corruption.
- Next - Proceed to the next step.
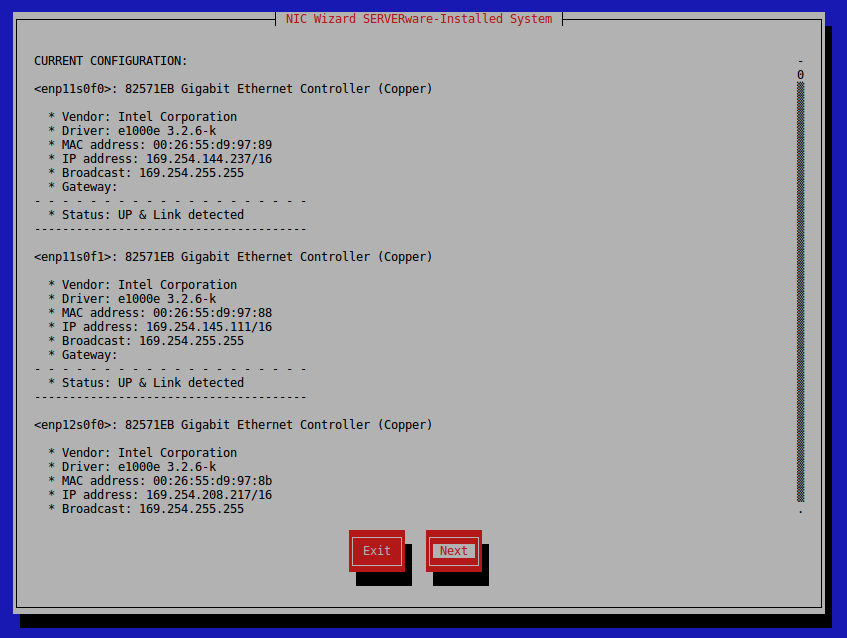
- Network - Configure IP address for remote access to the installation wizard.
Step 1:
Select Host as the installation type.

Processing Host is a computation resource that will attach and execute VPSs from storage via SAN (Storage Area Network).
Now in SERVERware 4 is an available option in setup wizard "(*) SERVERware Backup Host" for setting up a backup server, and it will let the user configure disk array during installation. Fraction of array 8G will be allocated for the operating system, everything else is to be available for /BACKUP storage.
In cases, when the user is reinstalling the storage/controller server which had the previous setup completed. Install wizard will detect the previous setup, and offer a restore option to the user. If the user chooses to restore, the install wizard will automatically exclude all disks used for network storage by the previous setup from the system disk choice list, to eliminate the possibility of setup overwrite with installation. And will restore original storage and networking configuration on installation complete. The reason for installing and restore would be, when the system disk is lost/failed and replaced with the new one.

Step 2:
Select physical disk for system installation.

Step 3:
A confirmation dialog appears.

Step 4:
The installation wizard will now proceed with the installation of the SERVERware operating system.


Step 5:
After OS is installed, configure network dialog appears.
Click Next to continue and then chose one of the options to configure the network interface.

After finishing the network configuration, click next to finish the installation. Wizard will initiate a reboot.