
With the release of PBXWare 8 there was a significant change in how CRMs are integrated/connected. The first change we see is in the CRM page itself:
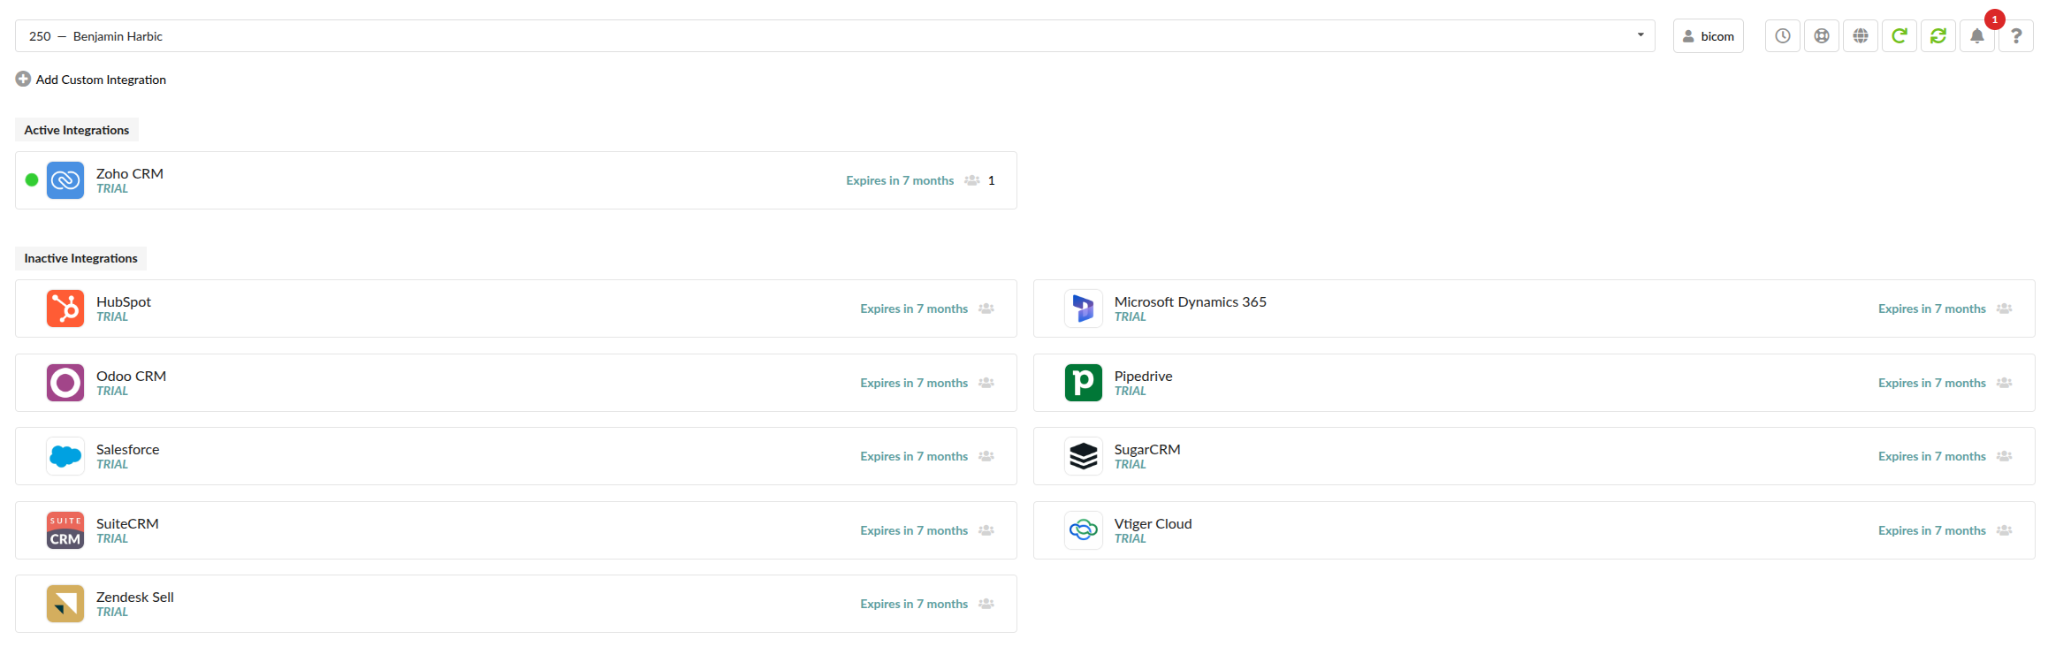
Some popular CRMs got their own menus to manage integrations. The ability to add a custom integration is also possible by clicking Add Custom Integration.
In this guide we are going to use Zoho as an example of how to setup a CRM and also view what has changed in the process of troubleshooting them.
Zoho CRM integration
This integration guide will explain in depth how to set up a CRM with the new OAuth system with Zoho. The guide slightly differs from other providers, you can see the differences in this Wiki document: https://downloads.bicomsystems.com/guides/crm/CRM_Connector_Authentication_Setup.pdf
When we click onto Zoho CRM, we see this menu:
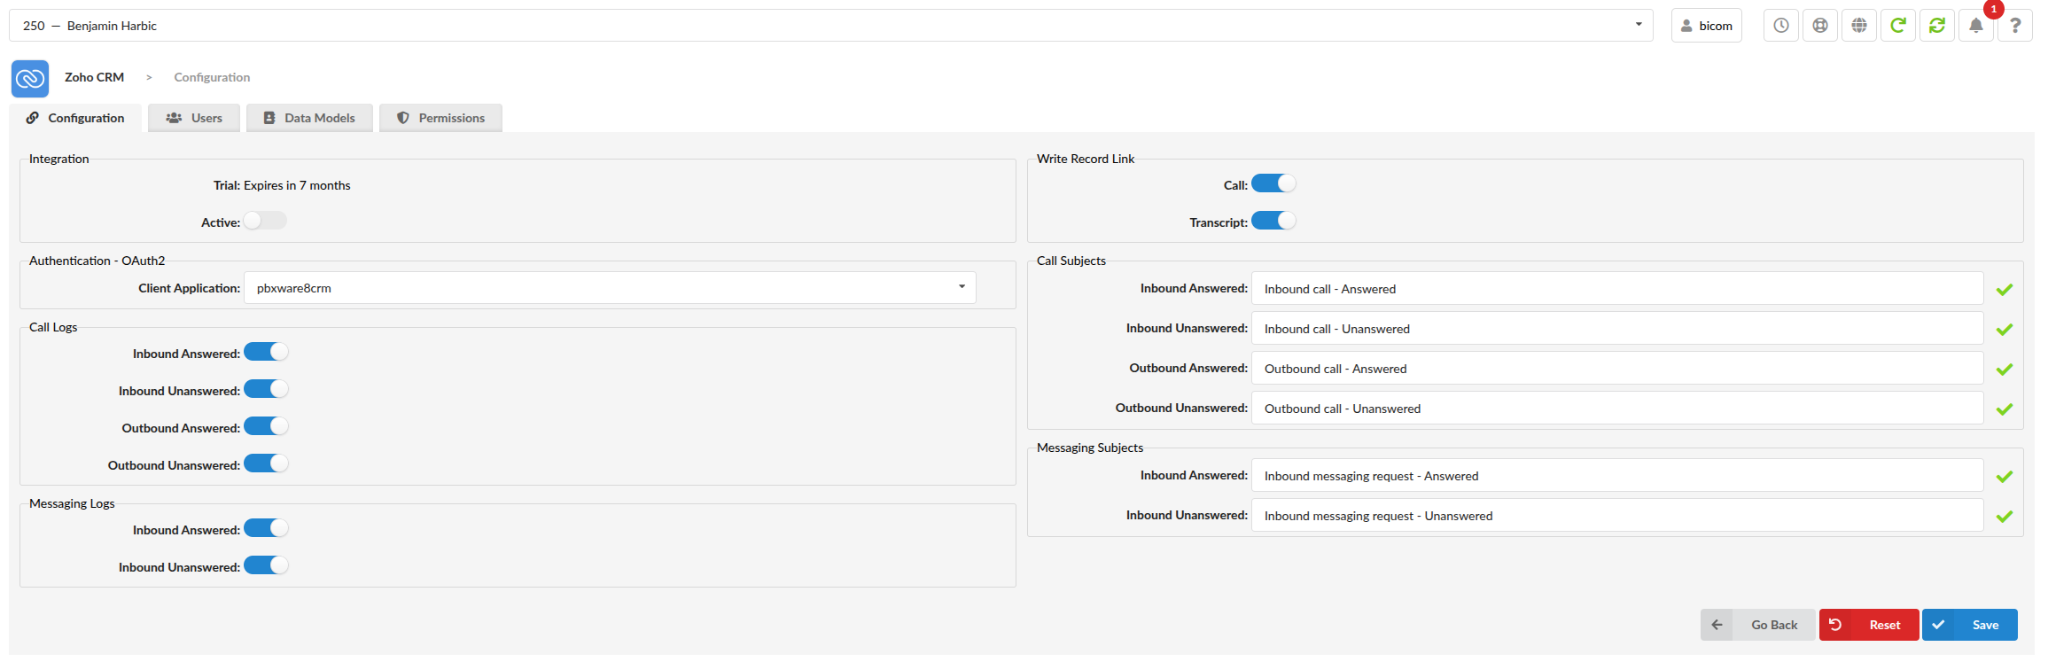
The first step is to ensure that we have an active OAuth application, otherwise we won’t be able to activate the CRM application. To do this, we have to go to Tenant > Settings > OAuth > Apps.
On the top left corner, we click on the button that says Add OAuth App, where we will be greeted with this menu:
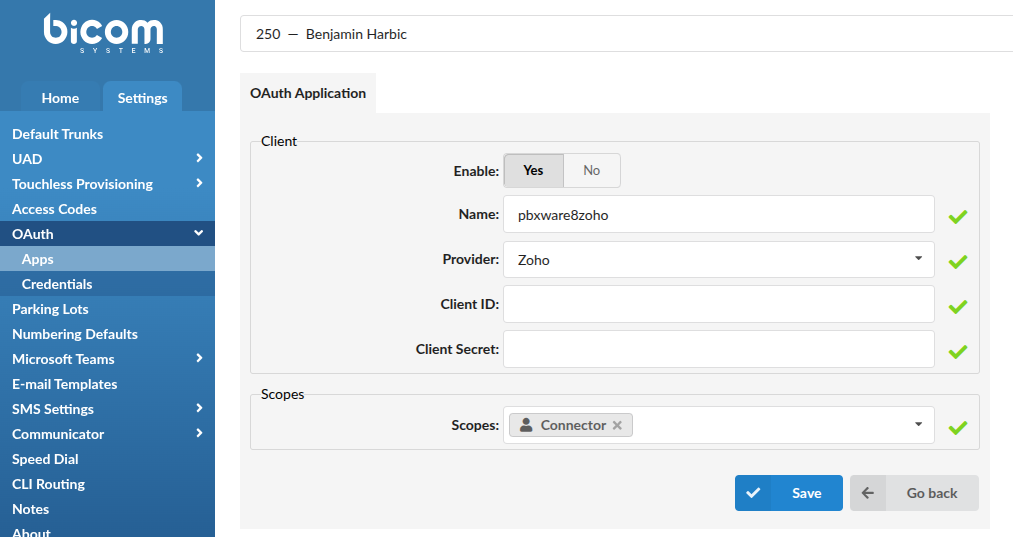
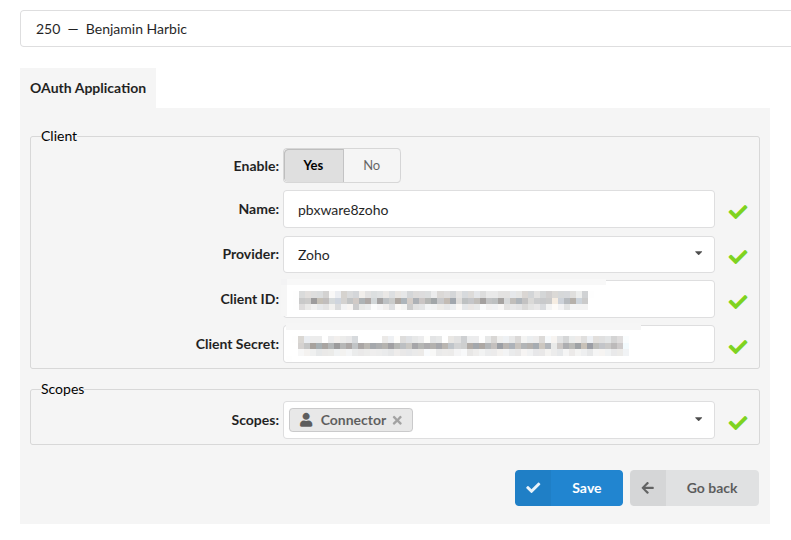
On the Provider dropdown menu there will be a list of providers which also include CRM providers. In our case, we will select Zoho.
Next, with our Zoho account we will go into the developer console via https://api-console.zoho.eu/, where we will be greeted by the Applications menu. In the top right corner there will be an Add Client button.
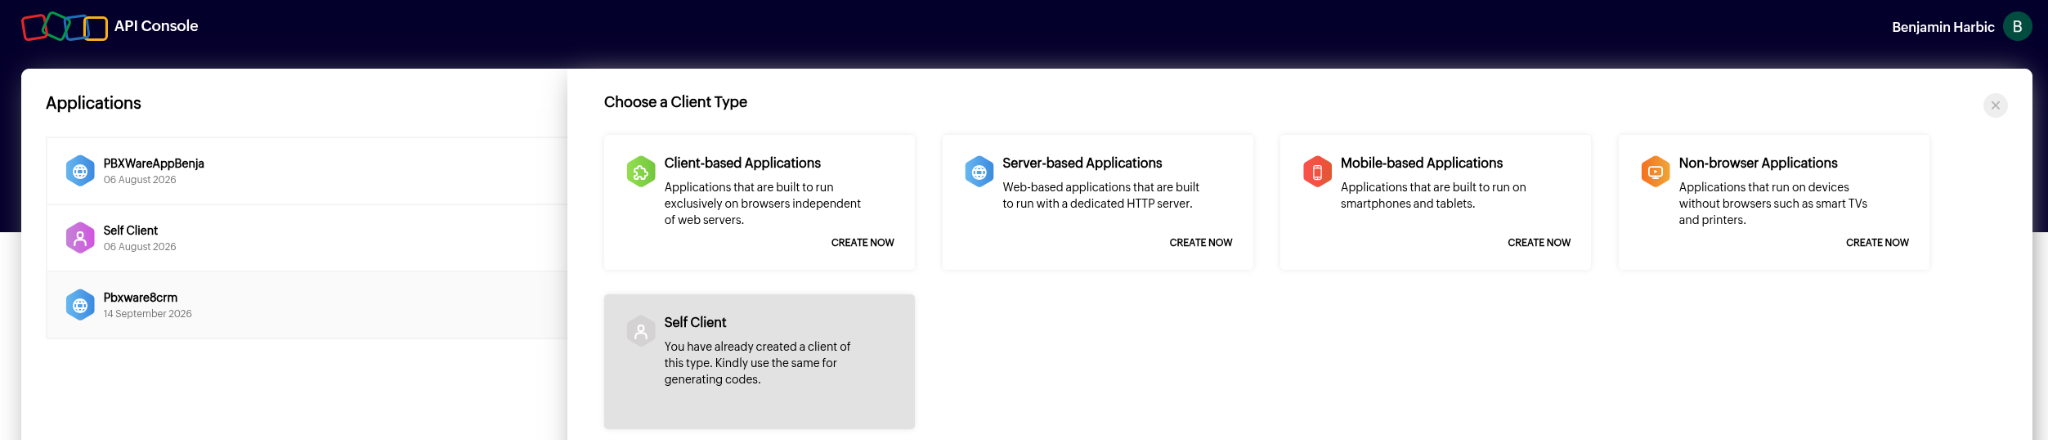
In the menu, we choose Create Now on the Server-based Application.
The menu should look like this:
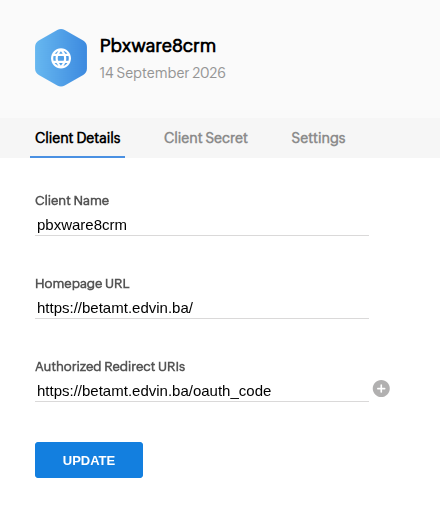
When we add our Homepage URL and Authorization Redirect URIs, we must use https in the URLs and prioritize adding the hostname instead of the IP address of PBXWare (if it has one). Otherwise, you are very likely to get an “Invalid redirect URI” error while logging in as the CRM administrator later in the guide.
Note: The old Redirect URI to create a CRM integration is still used for legacy CRMs. That means that putting in https://<pbxware_ip>/<tenant_code>/crmservice/api/generate_tokens is incorrect. CRM integration in PBXware 8 now uses https://<pbxware_hostname_ip>/oauth_code as the Authorized Redirect URI.
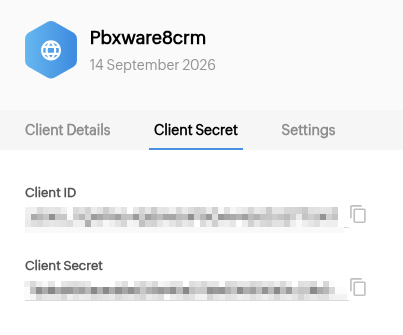
After grabbing the Client ID and Client Secret, simply just paste them into their respective fields in your PBXWare.
Going back to the CRM page, we are going to go to Zoho CRM and choose our OAuth app and tick the Active field.
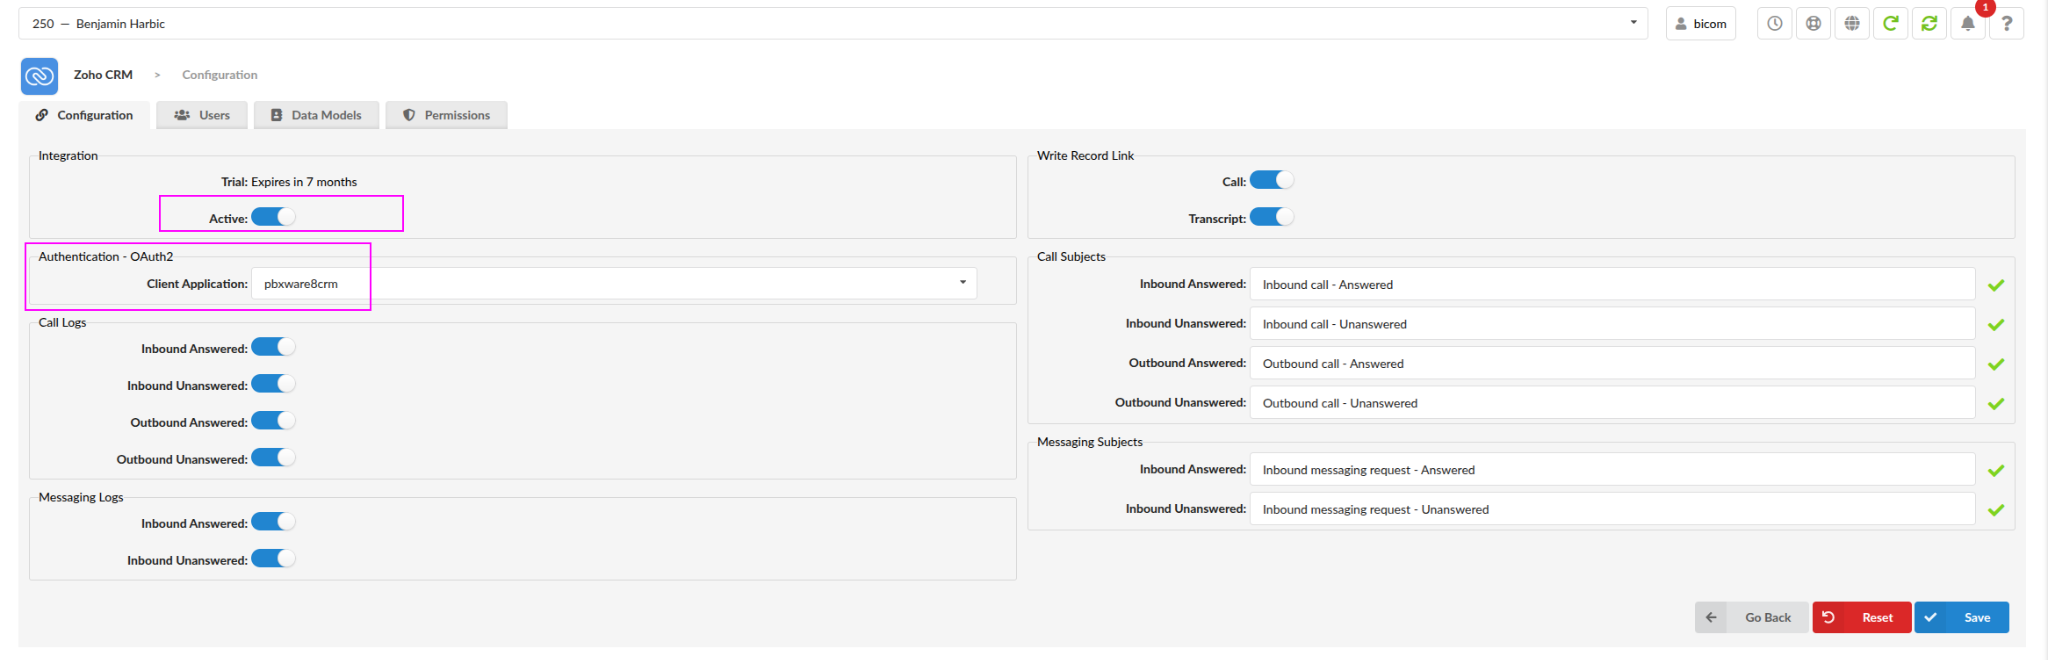
After we do so, we click Save.
After clicking Save, a new submenu will appear.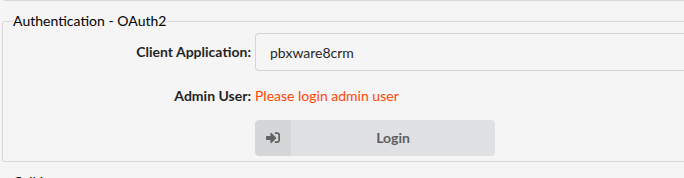
Clicking on Login will open a pop-up window prompting you to login as a CRM admin.
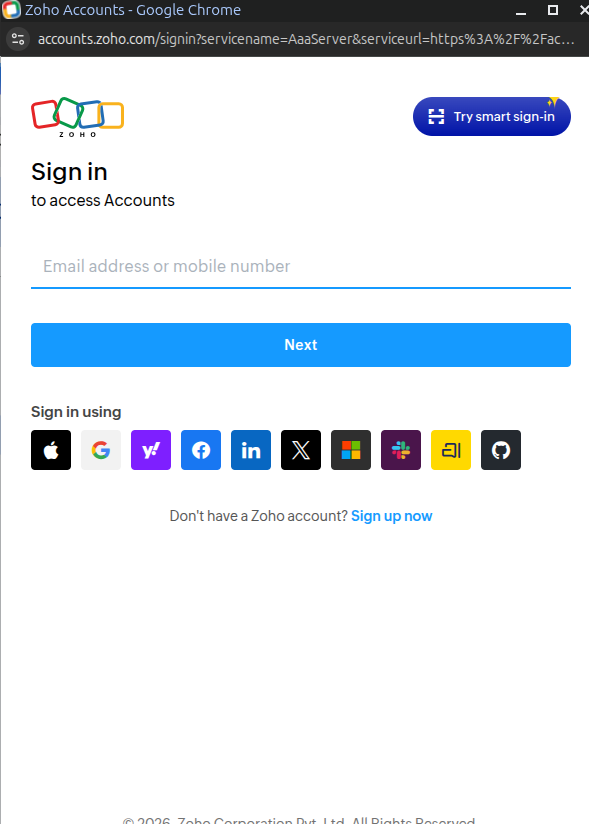
After logging in, you are prompted to allow certain actions from our Server-Based Application. Check yes and click Accept.
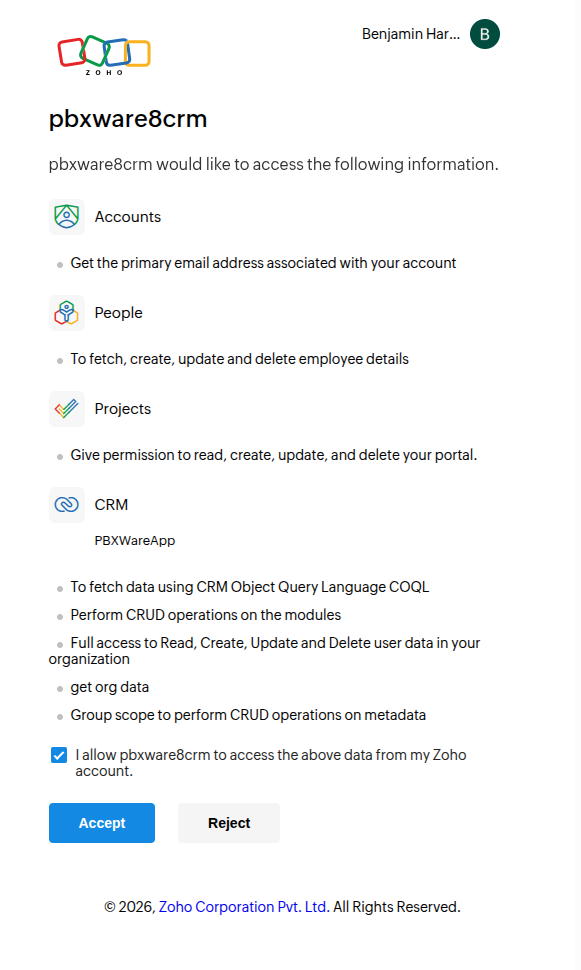

When logged in, refresh the page and you will see that Admin User is now populated with the email address you provided.
In gloCOM Next, the CRM integration process goes as such:
First we must activate the CRM for an Extension. To do so, we must go to Tenant > Home > CRM > CRM of choice > Users. In the dropdown menu, select extensions and press the plus button on the right to add them.
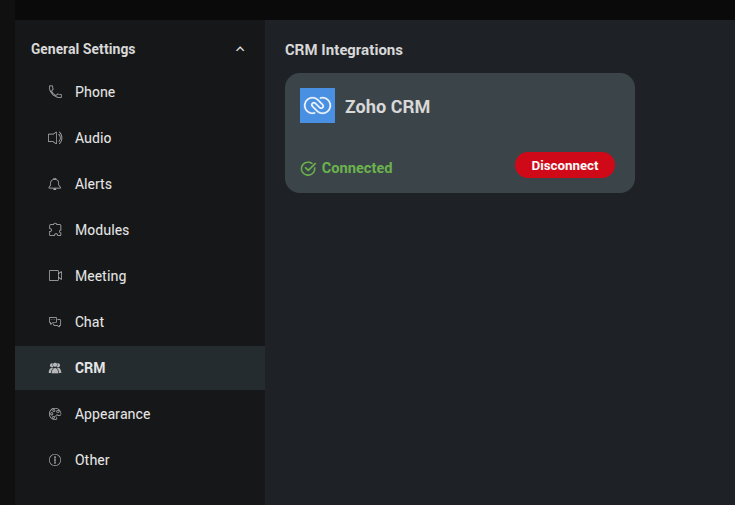
When a CRM is active for an user, in gloCOM Next it will show under Settings > CRM for every available CRM.
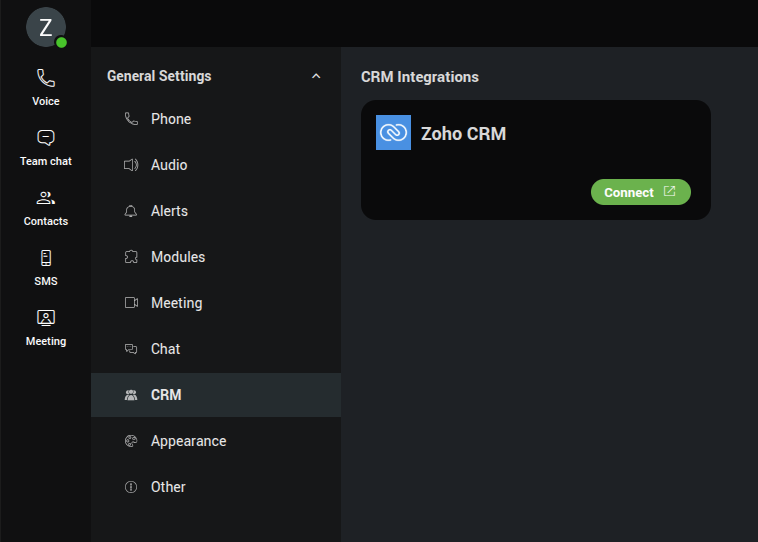
After successfully connecting with your Zoho CRM account, gloCOM Next will show Connected.
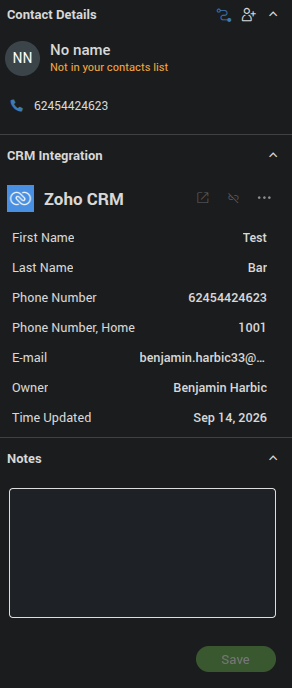
On calls it now shows CRM information:
For troubleshooting the CRM connector, we use /opt/pbxware/pw/var/log/crmconnector/crmconnector.log and the path to configure the settings of the log is /opt/pbxware/pw/etc/crmconnector/crmconnector.ini
To enable debug logs put the Verbosity level on 5. On gloCOM Next we are not able to see any logs for CRM, we must enter via ssh on our PBXWare to view them.